Before we can begin in earnest there are just a few requirements we need to put together, but many of you will already have these in place - an AWS account, a github account, and a domain name. If you don’t we’ll have you sorted out in just a few minutes…
Local computer setup
This is the best part - the only real requirement for your local computer is a web browser! I use Chrome on a chromebook, but any modern browser should work fine. We’ll be making use of the Cloud9 development environment for coding and terminals, along with other web-based tools (Jupyter, Spark-UI) as needed.
Optionally, it’s great to have an SSH terminal for a more fully-functional shell environment. I use either iTerm2 in Mac, or the built-in shell in Chrome (after minor hacks to enable).
Amazon account and IAM sub-user
https://console.aws.amazon.com/iam/home?region=us-east-1#/users
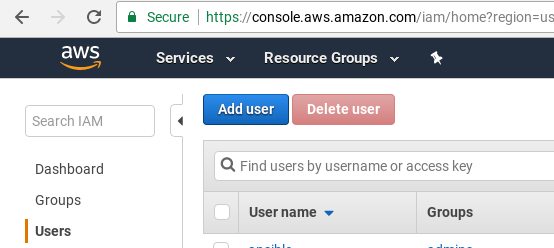
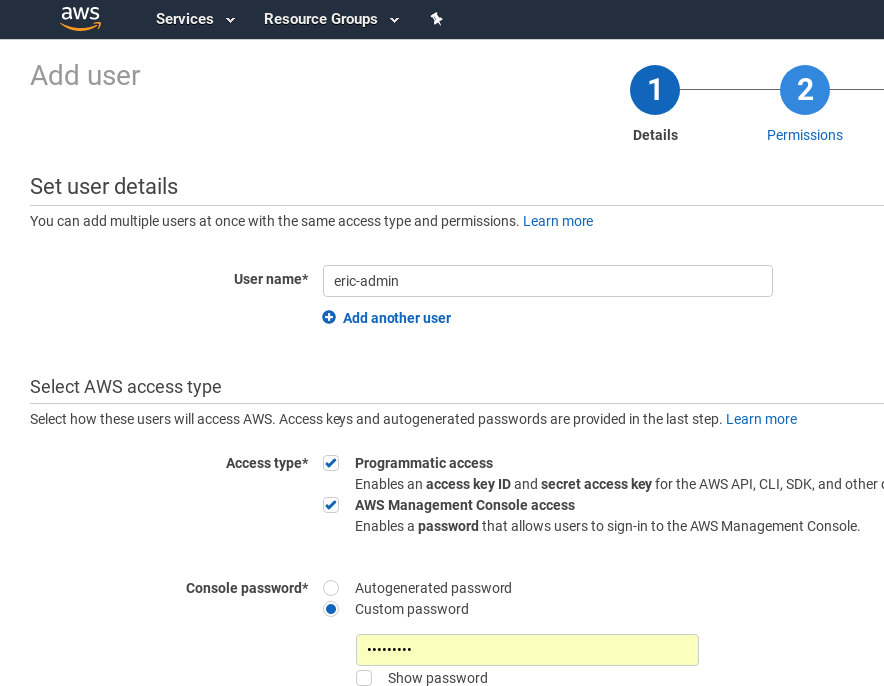
First adding admin user with more complete credentials - later could add a lower user for normal access
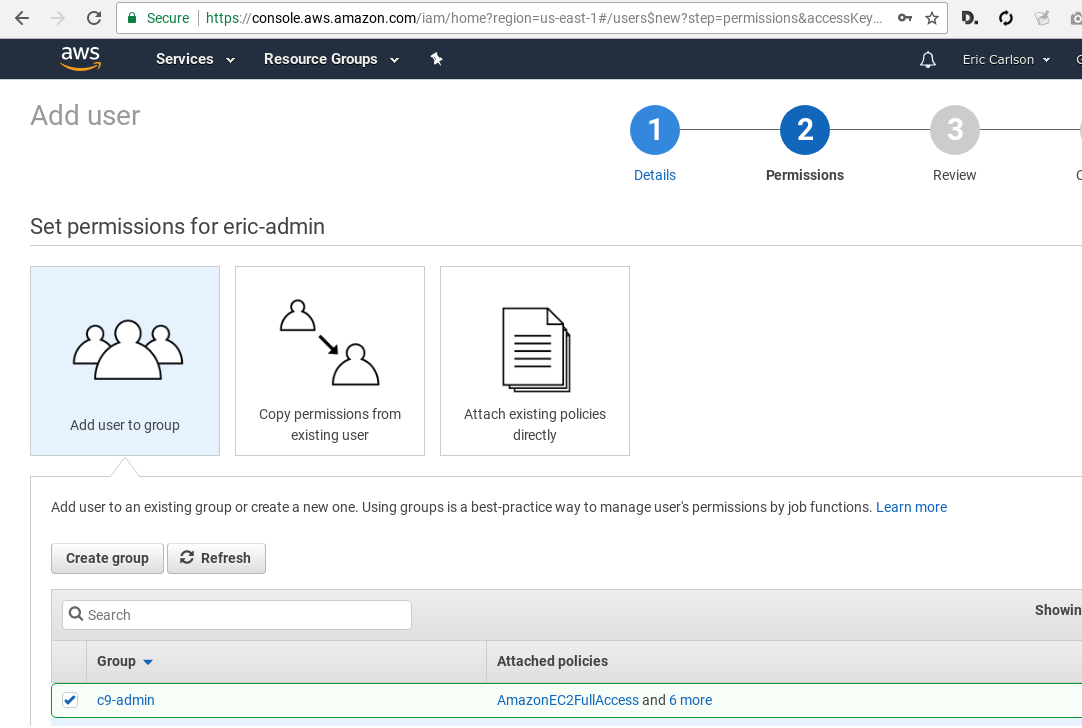
On permisisons screen, create group
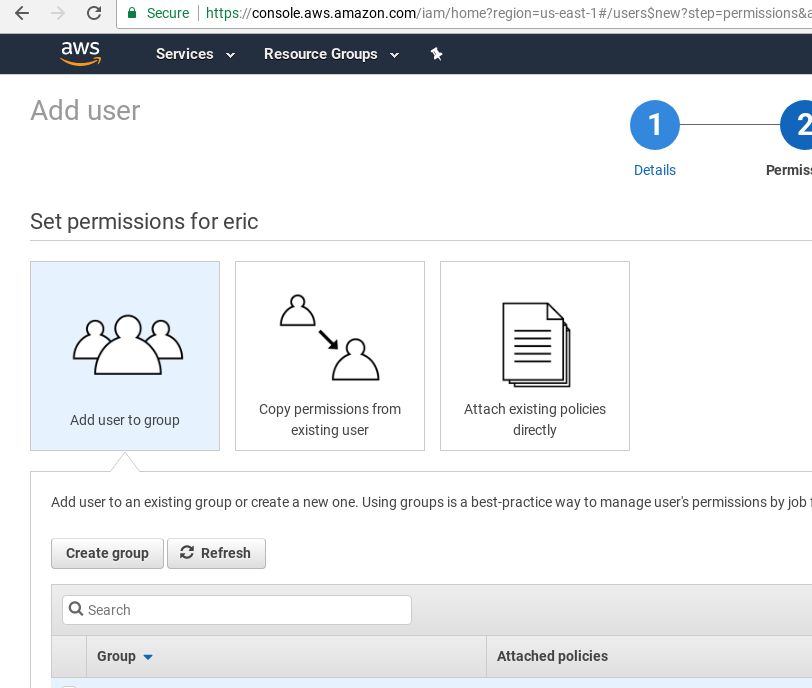
Creating admin group for launching k8s and general control
Add cloud9 permissions
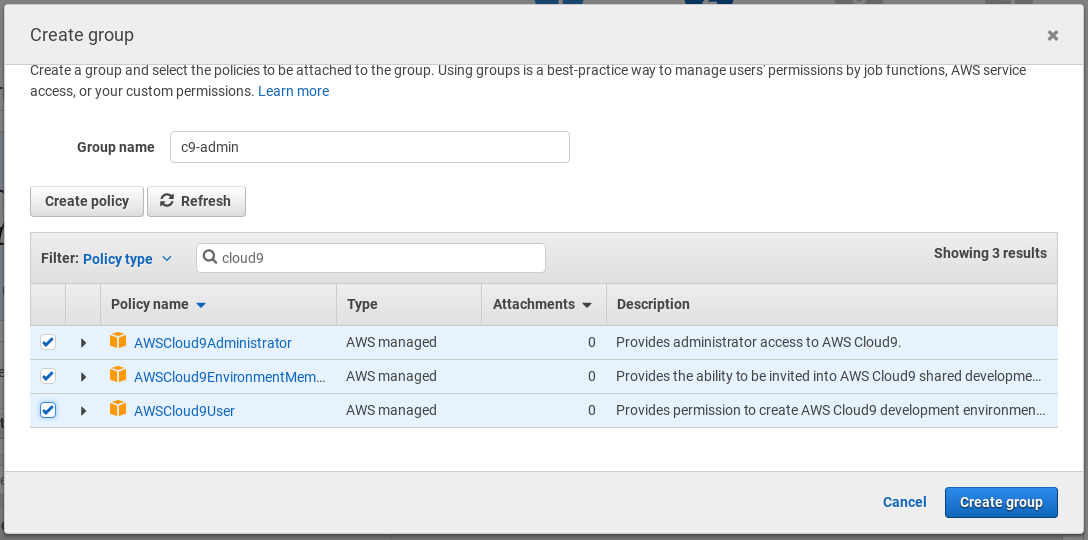
In the end added:
- AmazonEC2FullAccess
- AWSCloud9EnvironmentMember
- AmazonS3FullAccess
- AmazonRoute53DomainsFullAccess
- AWSCloud9Administrator
- AWSCloud9User
- AmazonRoute53FullAccess
- AmazonIAMFullAccess
- AmazonElasticFileSystemFullAccess
Select this group
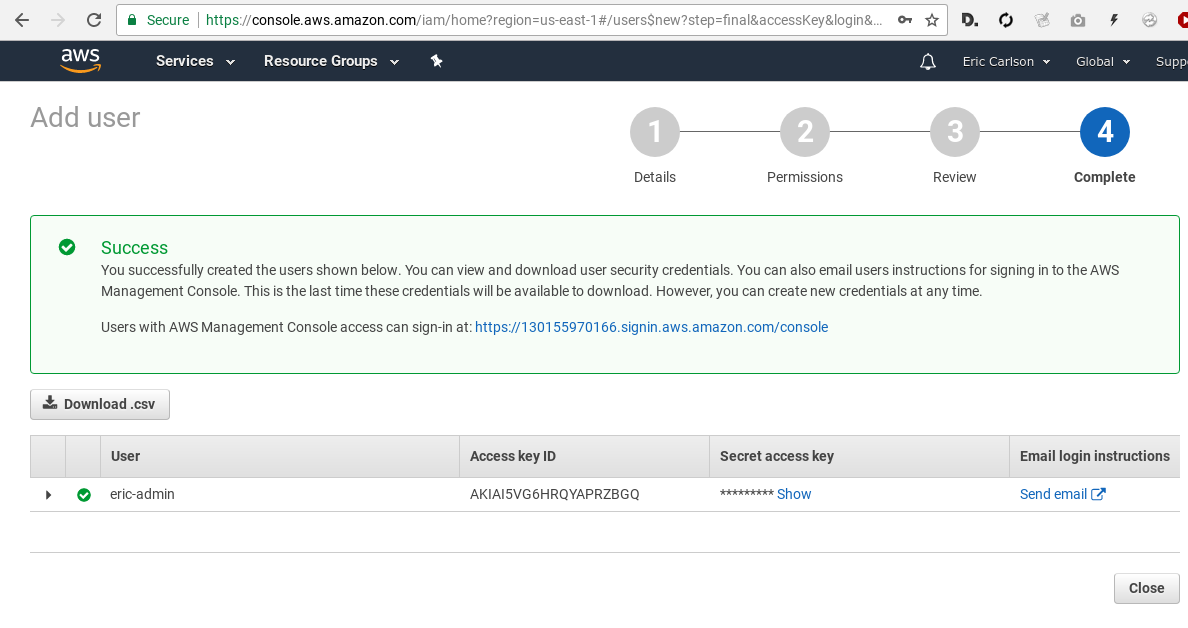
Save access key id and secret access key
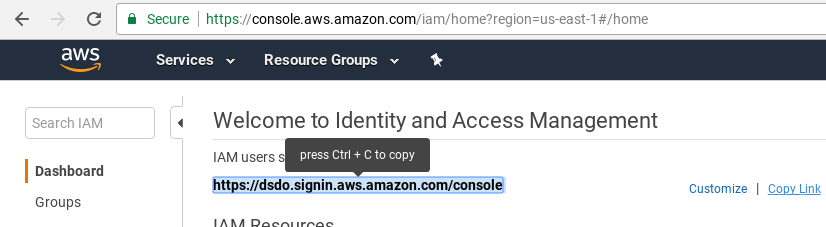
Go back to IAM main screen, copy link for your account’s dashboard
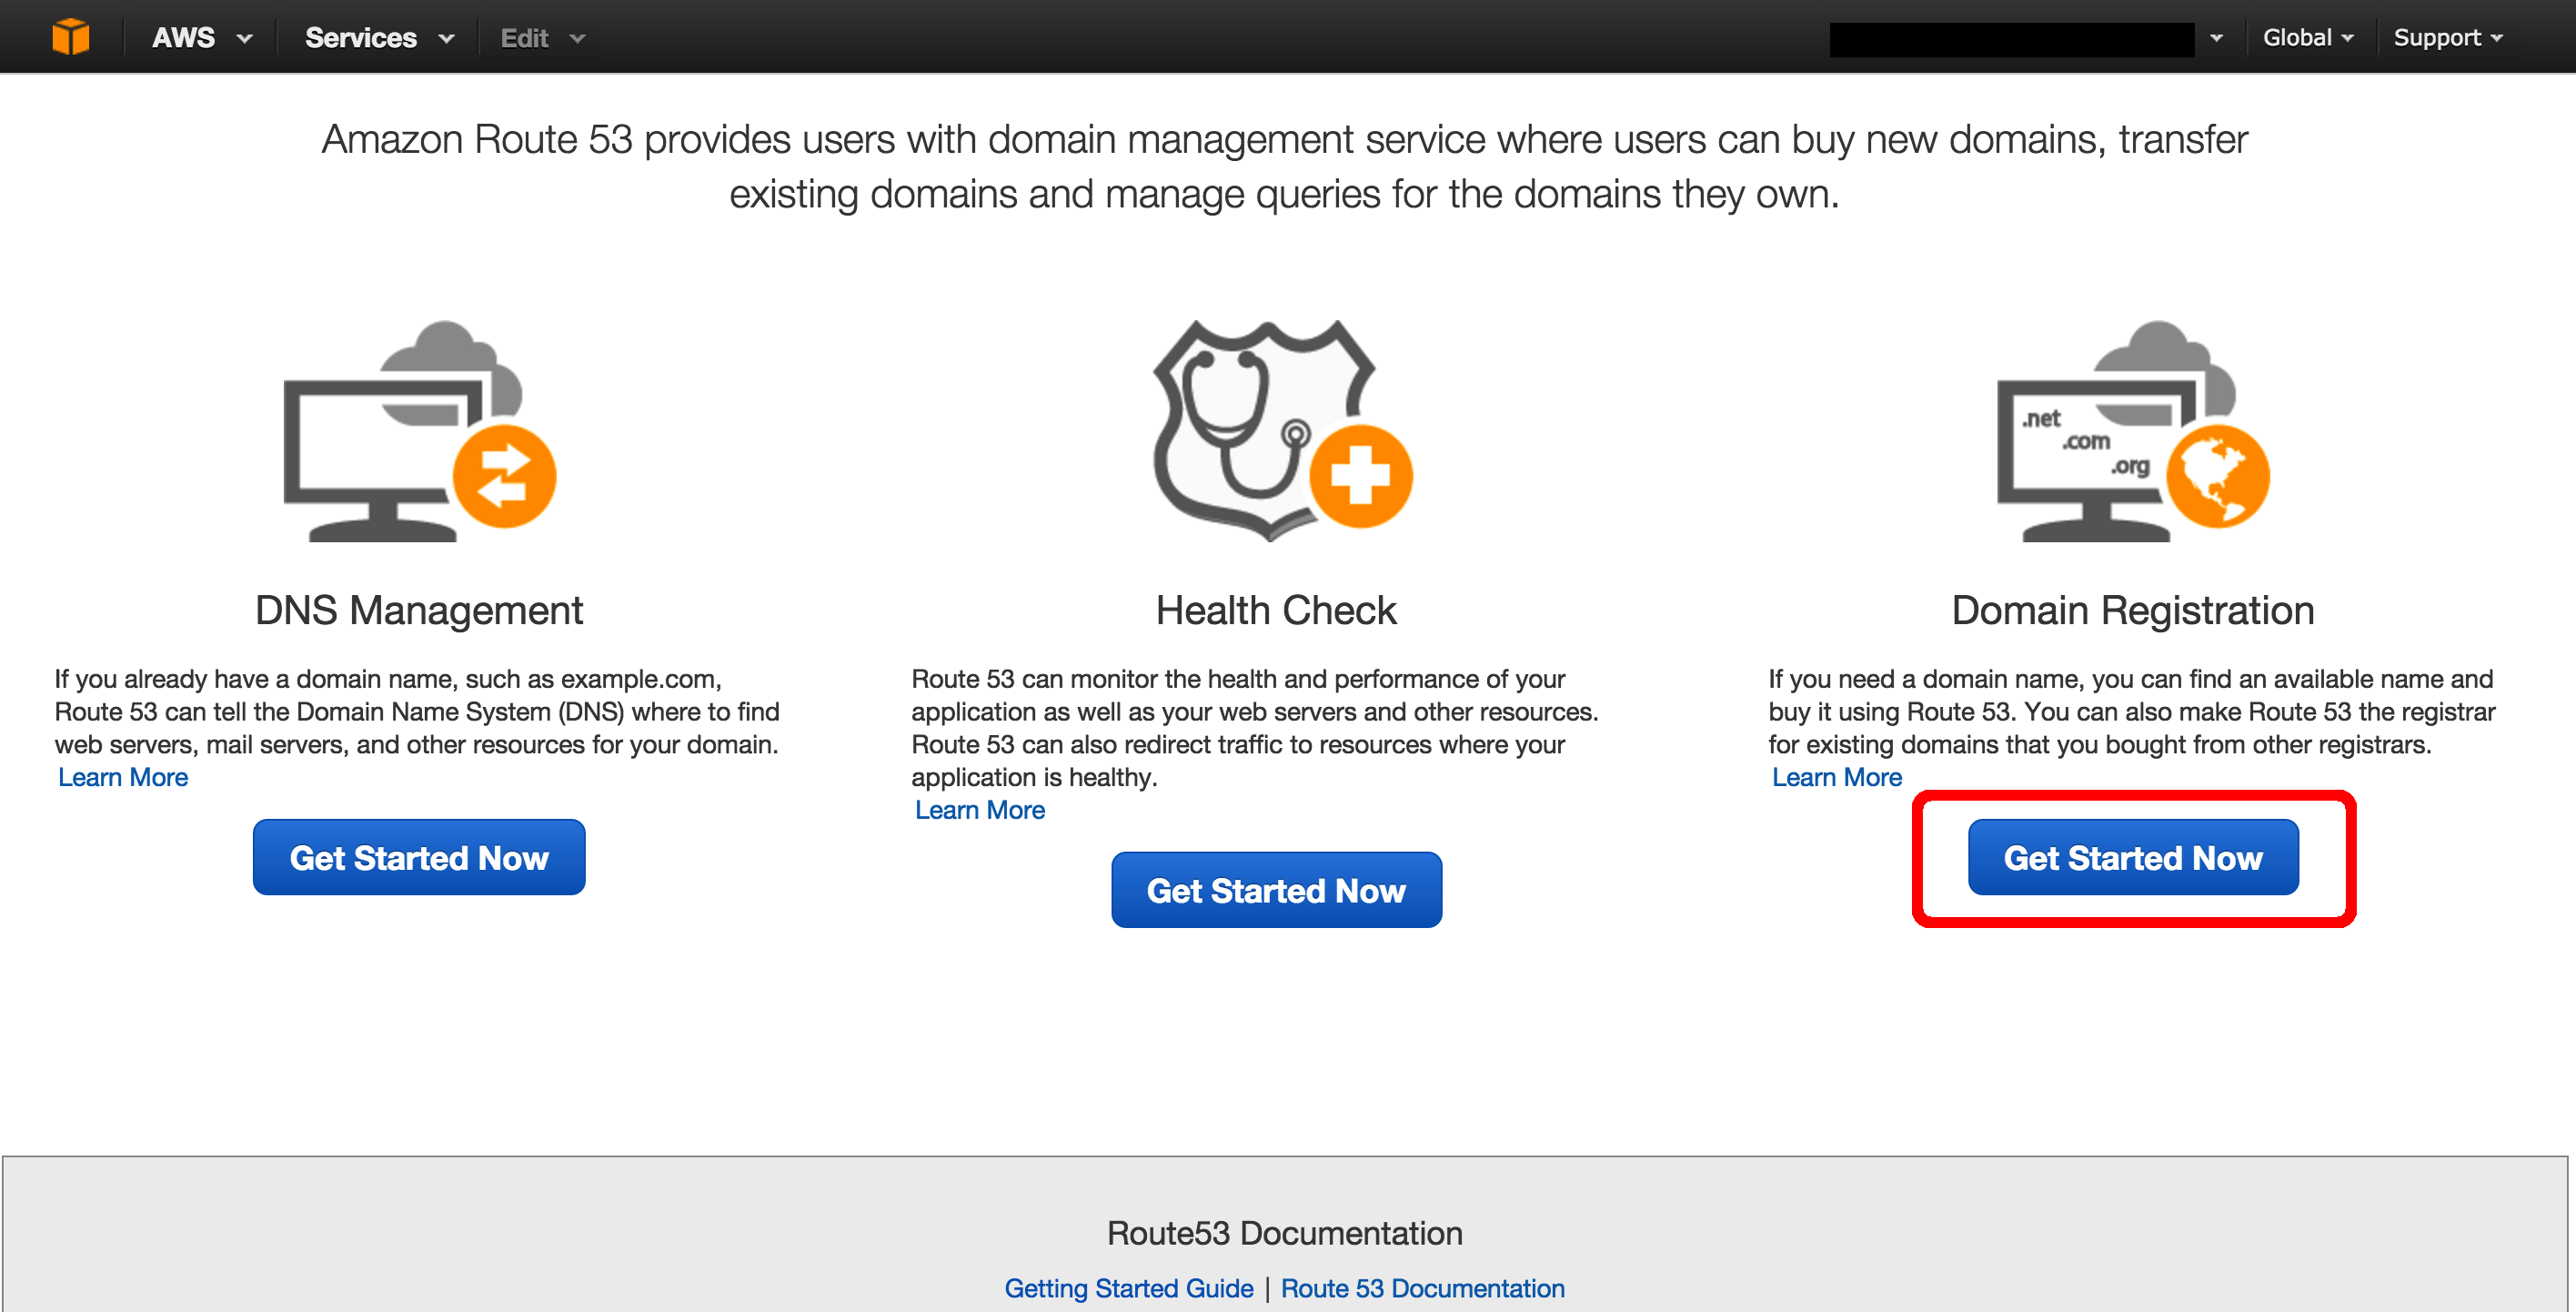
Domain
A domain name is required for many of our steps, as we use Amazon’s Route53 to dynamically update as our IP changes and to register new subdomains and help us with secure TLS certificate acquisition.
Amazon has a good set of tutorials on this, so I’ll just point to their documentation - you only need to follow step 2 from Amazon’s Instructions
Github
Account, create fork
Comments
comments powered by Disqus